

How To Add Prefab To Existing Save 7dtd
This guide volition walk players through minimal steps to export a Prefab from the PREFAB EDITOR in the EDITING TOOLS menu and import it into a playable game world such equally Navezgane or a Random World Generation . The intended audiences are players that already know the basics of how to create buildings with blocks from the Creative Card .
Video Tutorial [ ]
Guide how to import a prefab into a new/existing game world.
- Note: These steps are for standard 7 Days to Dice (
Alpha 17 b240+) without any modifications on thePC/Steamplatform.
Disable the EasyAntiCheat Setting [ ]

- Start
Steamand launch seven Days to Die - Click on
Prove game launcherbutton from the Launch Options - Remove tick from the
Use EasyAntiCheat (EAC)checkbox - Click on the
Runbutton to start the game
- Note: Disabling of
EACis required to save an imported Prefab
Open the PREFAB EDITOR [ ]

- Click on EDITING TOOLS from the main menu

- Click on PREFAB EDITOR from the EDITING TOOLS carte
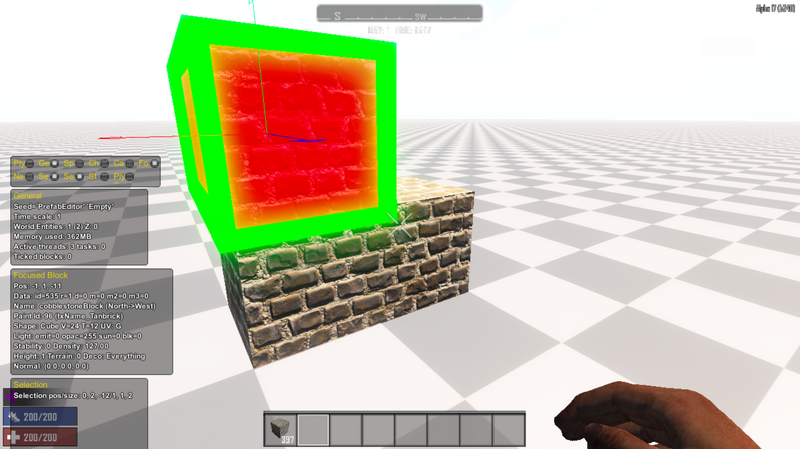
Create a Prefab [ ]
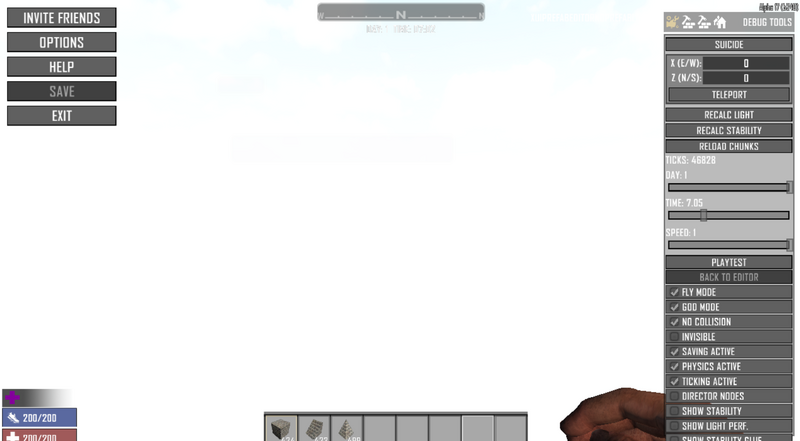
- Press the
ESCkey to open the DEBUG TOOLS
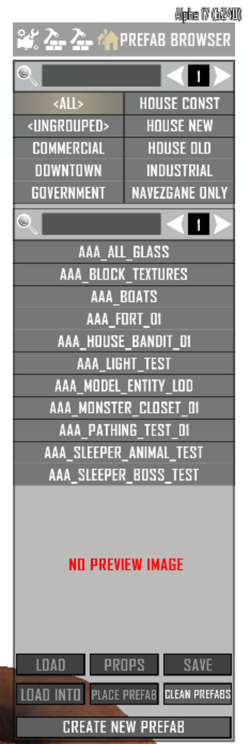
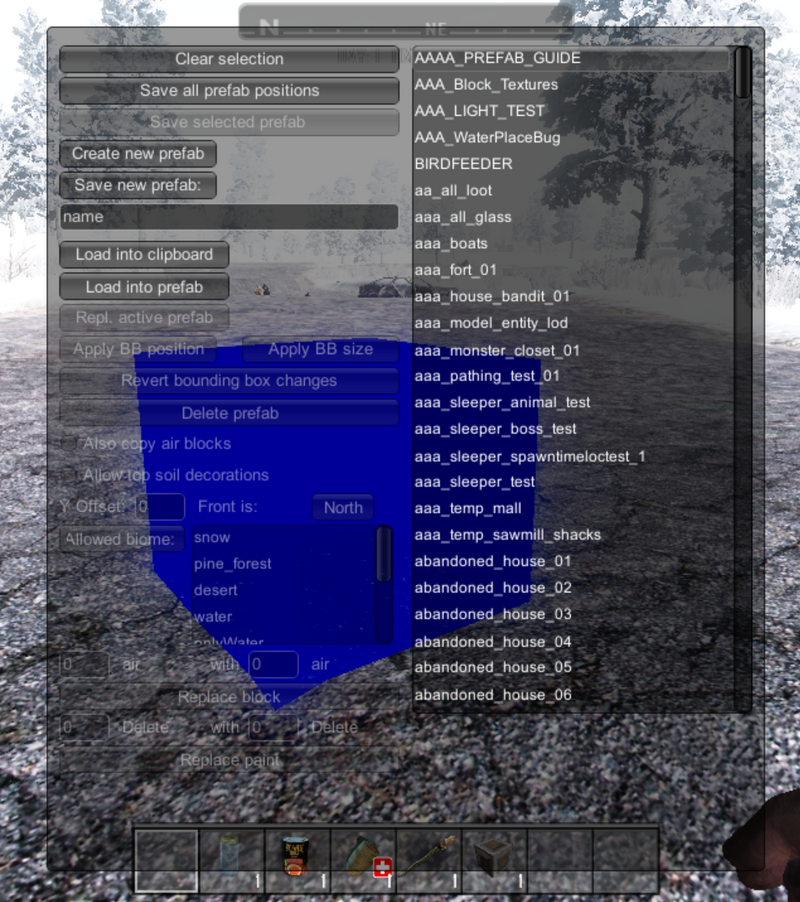
- Click on the PREFAB BROWSER icon in the DEBUG TOOLS
- Click on the
CREATE NEW PREFABbutton
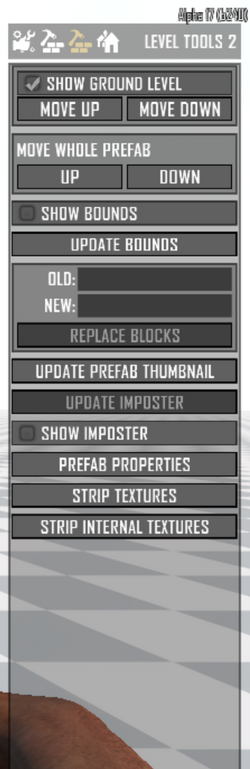
- Click on the LEVEL TOOLS 2 icon
- Place a tick in the
SHOW GROUND LEVELcheckbox - Press the
ESCcardinal to exit the DEBUG TOOLS
- Printing the
Ufundamental to open the Artistic Carte du jour - Put any building blocks into the Actor Toolbelt and INVENTORY grid
- Press the
ESCkey to leave the Creative Menu
- Press the
1key to make the first block on the Toolbelt active - Printing the
Zcardinal to start a selection
- Move the cursor most one block east/correct and press the
Zkey again to aggrandize the option
- Press the
Lprimal to fill the option with the current active cake in the Toolbelt
- Press the
CTRL+Ckeys to copy the selection - Printing the
SHIFT+CTRL+5keys to create a movable preview of the selection
- Printing the
Xkey to rotate the preview
- Press the
G+SPACEkeys to move the preview up
- Press the
SHIFT+CTRL+Vkeys again to place the moved blocks thereby ending the preview
Export a Prefab [ ]
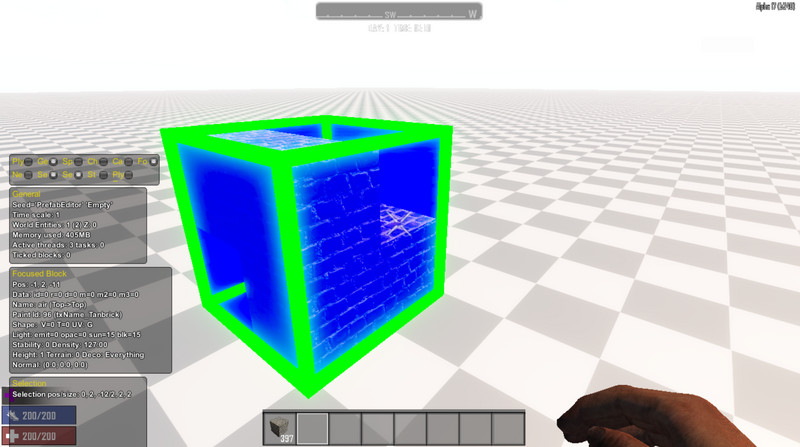
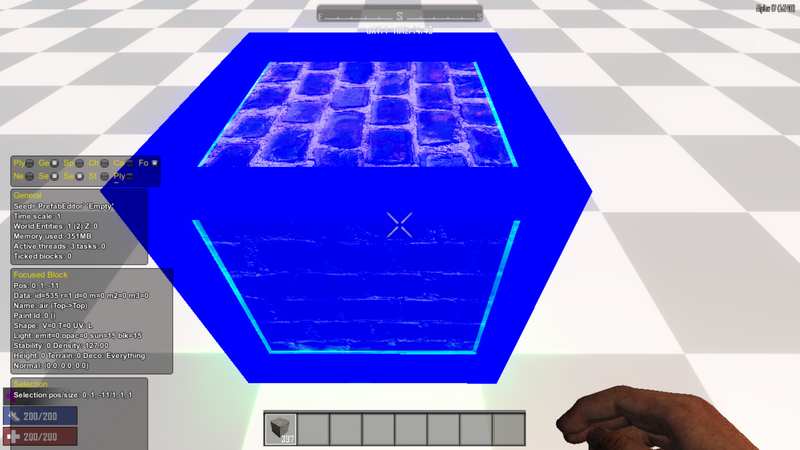
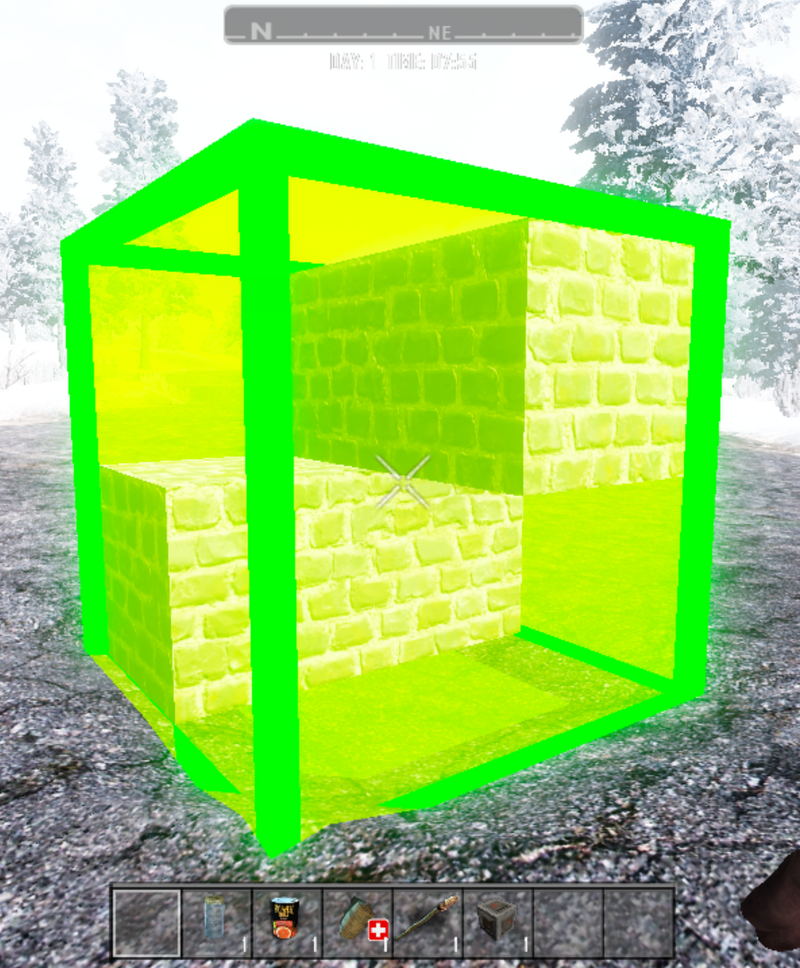
- Focus the cursor on the corner block and press the
SHIFT+Zkeys expanding the existing selection to encompass all the placed blocks
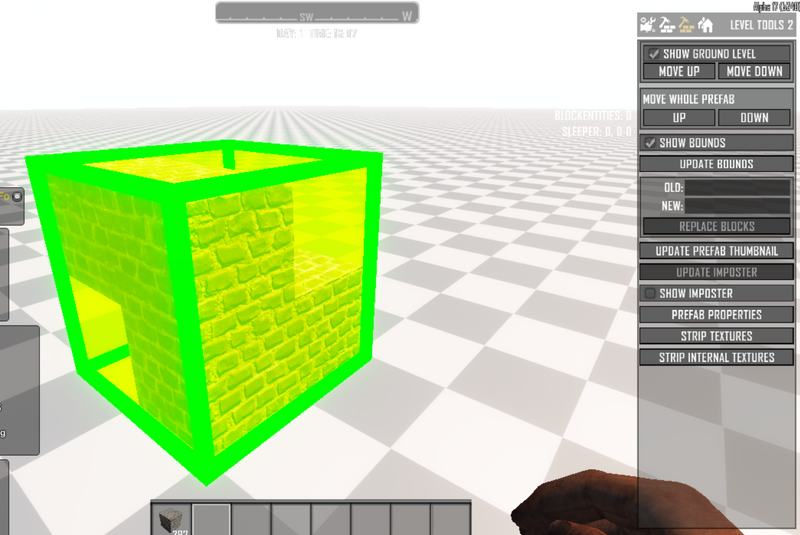
- Press the
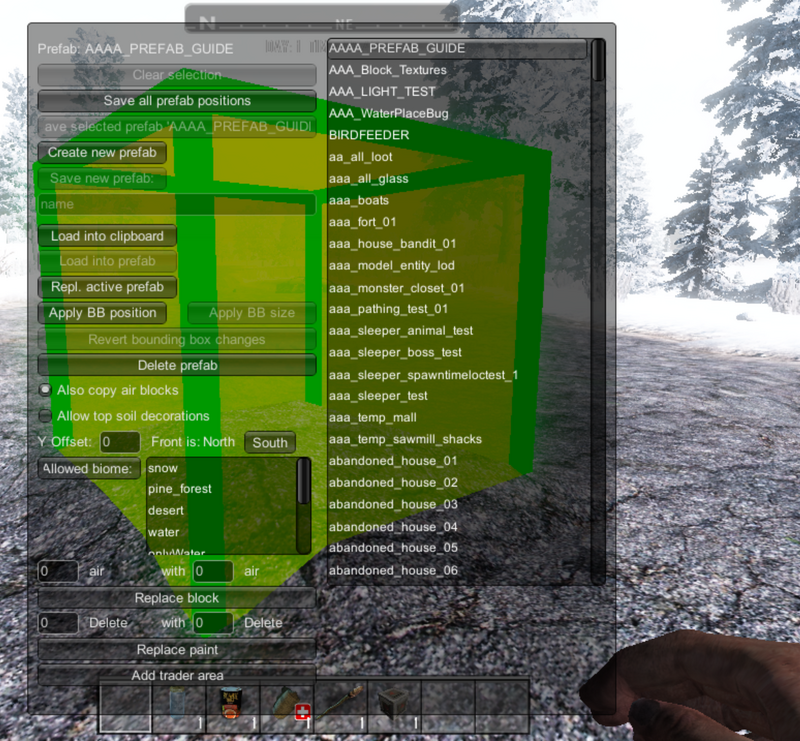
ESCkey to open the DEBUG TOOLS - Click on the LEVEL TOOLS 2 icon
- Identify a tick in the
SHOW Premisescheckbox - Click on the
UPDATE BOUNDSbutton
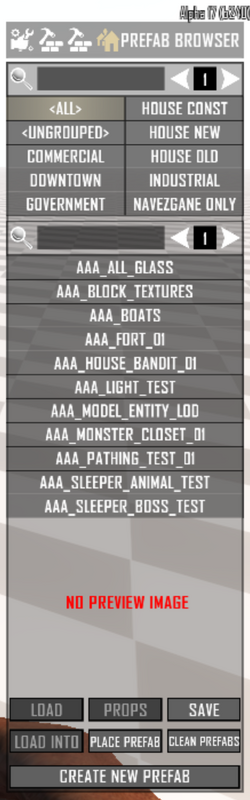
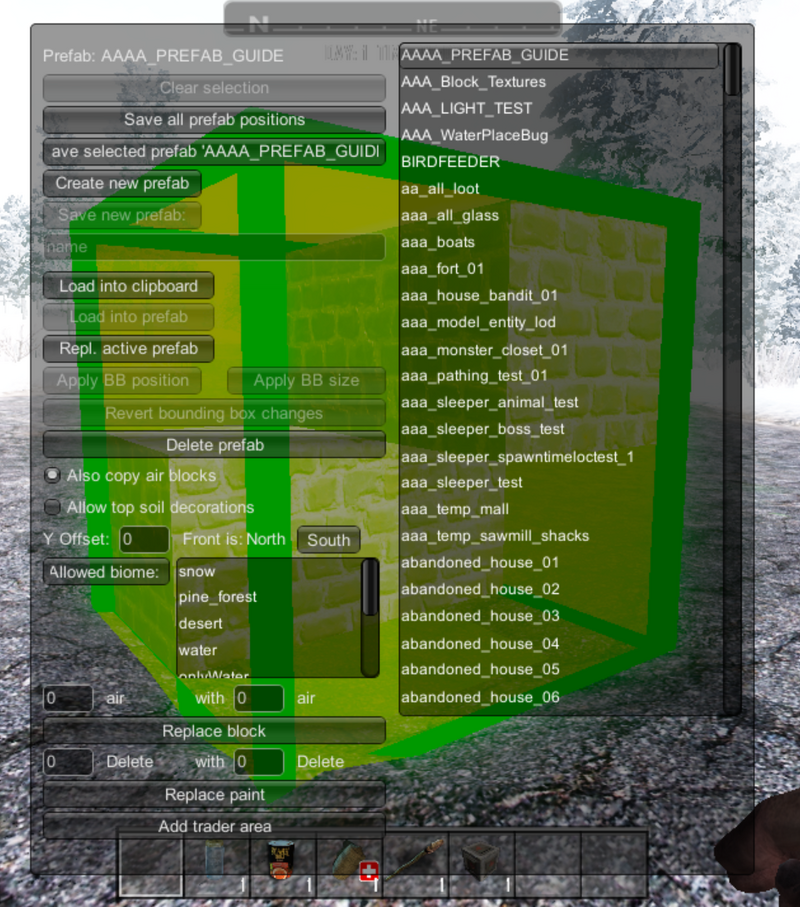
- Click on the PREFAB BROWSER icon
- Click on the
SAVEpush
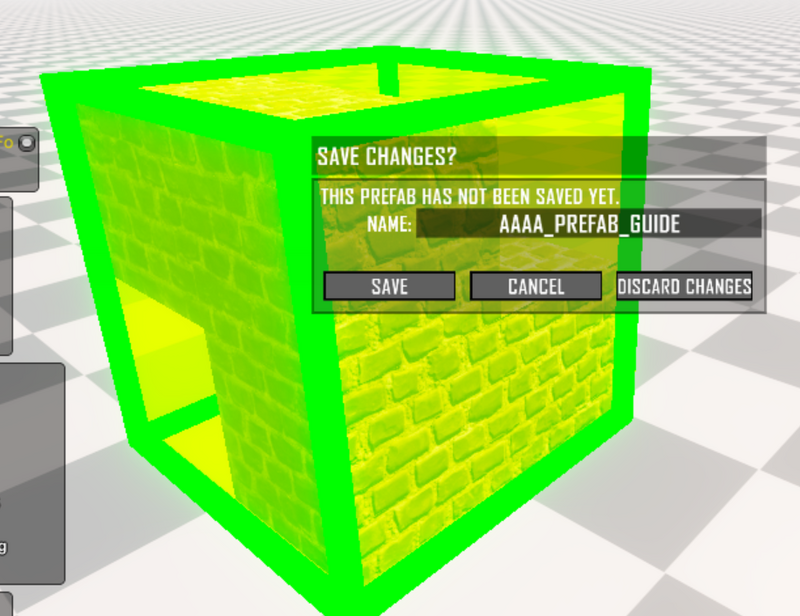
- Type in a desired Prefab
NAME - Click on the
SAVEpush button - Click on the
EXITbutton to quit the PREFAB EDITOR
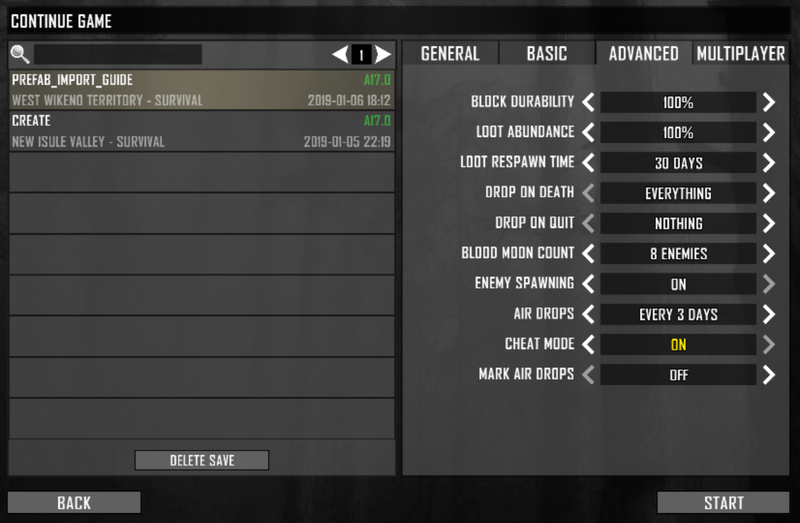
Start a NEW GAME or Go along GAME [ ]
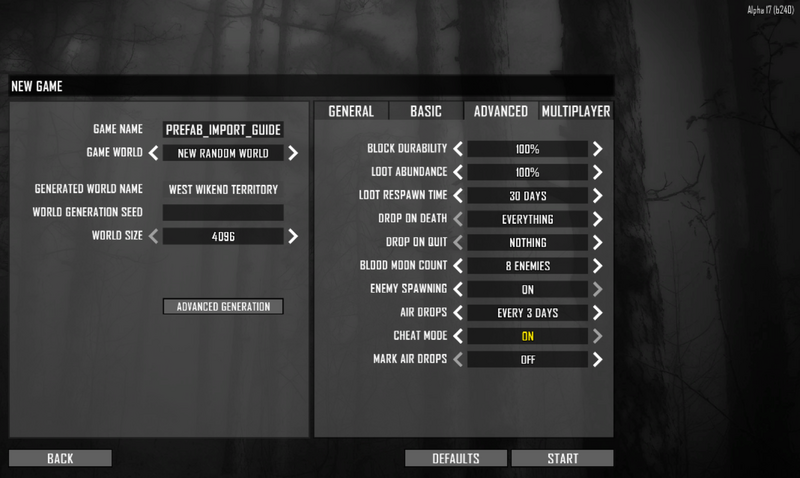
- Click on NEW GAME or Continue GAME from the Main Menu
- Type a new
GAME NAMEor click on an existing game entry if continuing - Click on the
Advancedtab - Click to set
CHEAT MODEtoON - Click on the
Startbutton
- Annotation:
CHEAT MODEis required to existONduring Prefab import and may be disabled afterwards
Enable Debug Mode [ ]
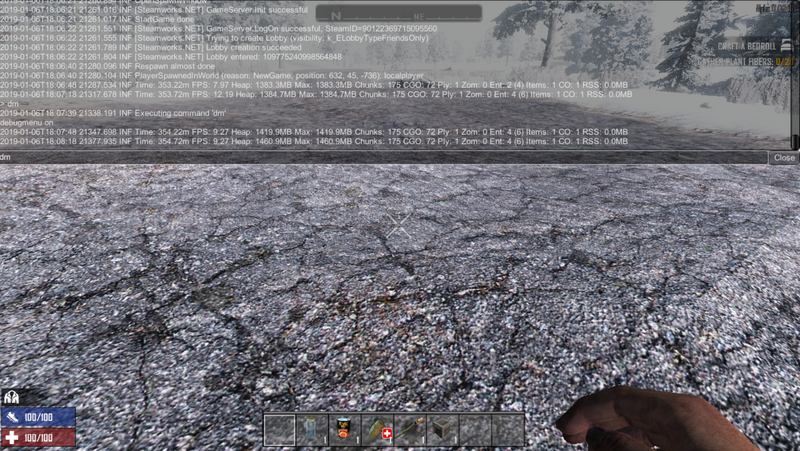
- Printing the
F1key to open up the Command Console window - Type
dmand press theENTERkey to enable Debug Mode - Press the
ESCprimal to quit the Control Console window
Import a Prefab [ ]
- Find a adequately flat ground area
- Printing the
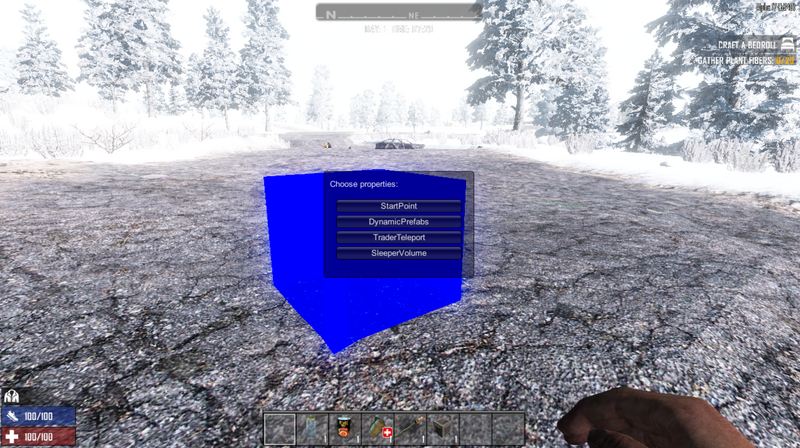
Zcentral to select one cake - Press the
Kkey to open up the Prefab Properties menu - Click on the
DynamicPrefabspush
- Click on the previously saved Prefab name from the list
- Click on the
Load into prefabpush
- Press the
Kkey again to open the Prefab Properties card - Click on the
DynamicPrefabsbutton again - Click on the
Use BB positionbutton
- Click on the
Save all prefab positionsbutton
- Press the
ESCkey to quit theDynamicPrefabswindow
- Press the
ESCkey again to open the DEBUG TOOLS menu - Click on the
RECALC STABILITYbutton from the DEBUG TOOLS carte du jour - Click on the
EXITpush to quit this game globe
- Lastly, Go along the Game

How To Add Prefab To Existing Save 7dtd,
Source: https://7daystodie.fandom.com/wiki/Prefab_Editor_Export_Import
Posted by: rosadotorty1998.blogspot.com
0 Response to "How To Add Prefab To Existing Save 7dtd"
Post a Comment